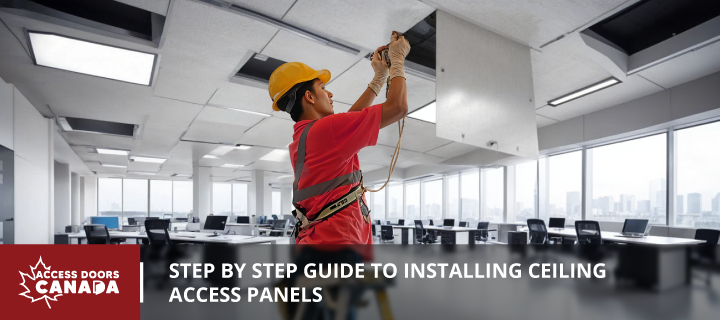
Step-by-Step Guide to Installing Ceiling Access Panels
Ceiling access panels are essential components in commercial construction. They provide convenient maintenance and repair access to HVAC, plumbing, and electrical systems. Proper installation is critical for panel function, structural integrity, and code compliance. This guide details the step-by-step installation of ceiling access panels.
Ceiling Access Panel Types
Before installation, it is essential to understand the several types of ceiling access panels that are available.
- Flush panels integrate with the ceiling, providing a sleek and discreet appearance.
- Drywall inlay panels are installed flush with the ceiling, requiring a drywall finish.
- Fire-rated panels are crucial for meeting specific fire safety standards, delaying the spread of fire to allow building occupants to evacuate to safety and preserve the building’s structural integrity.
When selecting the appropriate panel for your project, consider factors such as panel size, material, finish, and intended use.
Step-by-Step Installation Guide
Preparation
- Determine the size and type of ceiling access door needed, considering factors such as whether it is for a standard ceiling access panel or a specific application like an attic access door. Measure the desired location and select the appropriate size.
- Gather the necessary tools and materials. Prepare the following: measuring tape, pencil, saw or drywall cutter, framing materials (wood or metal studs), screws or clips, caulk, paint or texture matching the ceiling, and safety equipment (eye protection, gloves, dust mask).
- Ensure the work area is clear of obstructions. Wear appropriate safety gear.
Cutting the Opening
- Measure and mark the desired location for the access panel on the ceiling.
- Cut the opening using a saw or drywall cutter, ensuring precise dimensions. Avoid damaging structural elements.
Framing the Opening
- Construct a sturdy frame using wood or metal studs to support the access panel.
- Attach the frame to the ceiling joists or structural supports using appropriate fasteners.
- Verify that the frame is level and square for proper panel alignment.
Installing the Access Panel
- Position the panel and insert the access panel into the prepared opening.
- Secure the panel and attach it to the frame using screws or clips provided by the manufacturer.
- Ensure the panel is fixed to prevent movement.
- If applicable, adjust the access panel door for smooth operation.
Finishing Touches
- Seal panel edges with caulk to prevent drafts and enhance their appearance.
- Paint or texture the panel to match the surrounding ceiling for a seamless appearance.
- Inspect the access panel to ensure it opens and closes without obstruction.
Troubleshooting Common Installation Issues
While following the steps outlined above, you may encounter some usual challenges. Here are some solutions:
Uneven Cuts
- Recheck measurements: Ensure the opening is accurately measured and marked.
- Use a level: Check that the cutting tool is level to prevent uneven cuts.
- Consider hiring a professional: For complex cuts or intricate designs, hire a professional to ensure precision.
Difficulty Attaching the Panel
- Check frame stability: Ensure the frame is securely attached to the ceiling joists.
- Use appropriate fasteners: Verify that the screws or clips are suitable for the panel and frame materials.
- Adjust panel alignment: Make minor adjustments to the panel's position to ensure proper fit.
Panel Doesn't Close Properly
- Check for obstructions: Remove debris or materials hindering the panel's movement.
- Adjust hinges or latches: Loosen or tighten hinges or latches as needed to ensure smooth operation.
- Inspect for damage: Check the panel and frame for any damage affecting its function.
You can overcome installation challenges and achieve success by addressing these common issues.
Introducing the ADC-BAC-TBC Aluminum T Bar Ceiling Door
The ADC-BAC-TBC aluminum T-bar ceiling door is stylish yet practical for suspended ceilings. This downward-opening access door is crafted from durable aluminum and engineered for effortless installation and long-lasting performance.
Key Features:
- Sturdy Aluminum Construction: Built to withstand frequent use while maintaining a pristine appearance.
- Labour-Saving Installation: Easy to handle, fit, and integrate into 1" T-grid ceilings.
- Flush Fit Design: This creates a seamless, almost invisible look when closed.
- Easy Access: Smooth operation with a screwdriver-operated cam latch for convenient access.
- Customizable Finish: Paintable white baked enamel finish for seamless integration into any space.
- Enhanced Security: Optional lock options for restricted access areas.
The ADC-BAC-TBC conceals wires, controls, sprinklers, and audio systems in commercial offices, healthcare facilities, educational institutions, and other commercial construction projects. Its durability, ease of installation, and sleek design make it a top choice.
Conclusion
More than mere openings, ceiling panels are strategic assets that optimize building performance. Precision-installed panels provide discreet access to vital systems, safeguarding the structure. Contractors enhance building performance by investing time and expertise in proper installation. A correctly installed access panel underscores a contractor's commitment to excellence.
Ready to enhance your building's accessibility and efficiency? Our expert team at Access Doors Canada can help you select and install the optimal ceiling access panel. Let this guide be your blueprint for success. Contact us today on (800) 679-3405 or request a quote online.


